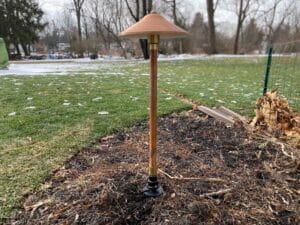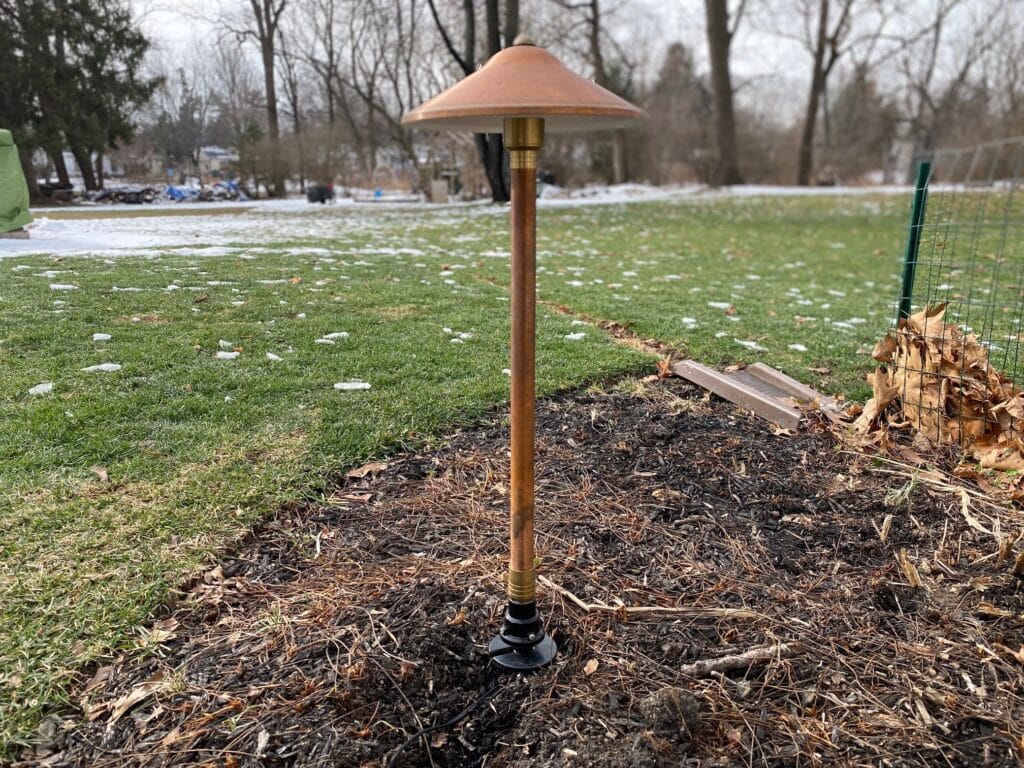
We have been receiving numerous inquiries regarding installation of the Light Fixer accessory with previously installed low voltage landscape light fixtures. The question most asked is “does the fixture need to be disconnected or unwired to install the Light Fixer accessory?”. The simple answer is, YES! The fixture does need to be disconnected to install the Light Fixer accessory on a previously installed landscape light fixture.
The following is a simple, quick and inexpensive method to install the Light Fixer accessory on a previously installed low voltage landscape light fixture:
Step #1:
ALWAYS unplug or disconnect the low voltage landscape light transformer (a given for a professional landscape light installer, but easily overlooked if you are a DIYer).
Step #2:
Cut the landscape fixture wire (usually an 18-2 or 16-2 fixture wire) approximately 6-12” from where the fixture wire exits the fixture ground stake.
Step #3:
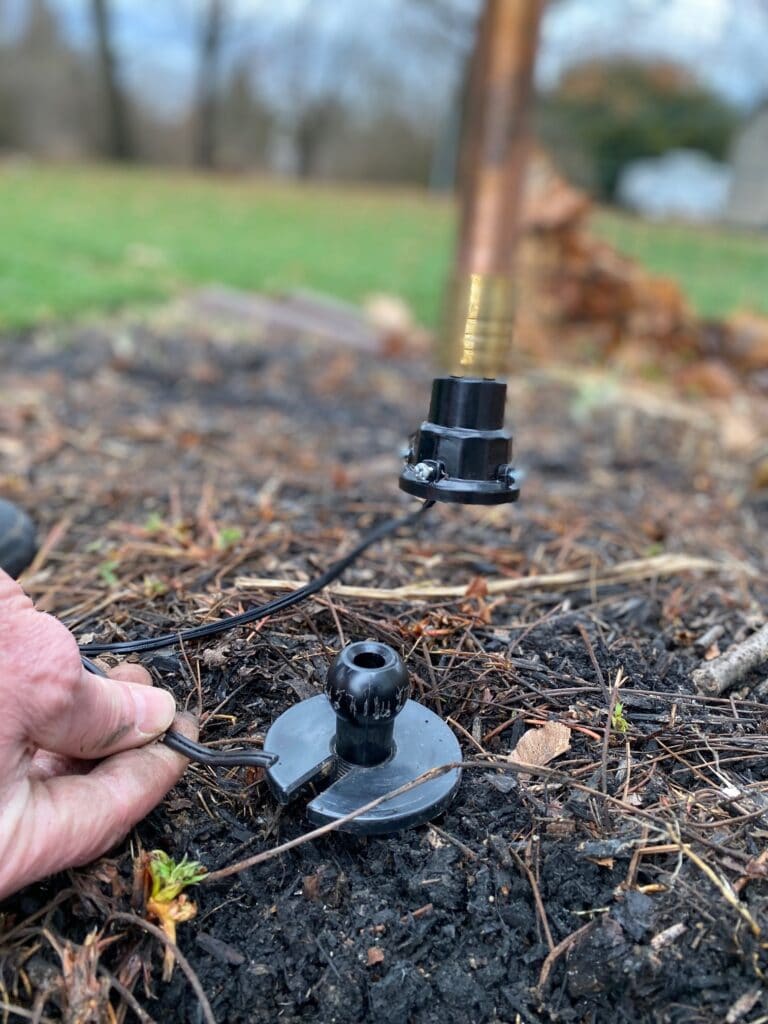
Remove the fixture from the ground stake. If the fixture is currently mounted on a wimpy 6” ground stake, originally supplied with the landscape light fixture, now would be a great time to upgrade to the beefy, 10” fixture stake found at www.lightfixers.com.
Step #4:
Install the Light Fixer cap to threads of the light fixture stem. Install the Light Fixer threaded pivot ball to the ground stake.
Step #5:
Thread the fixture wire through the Light Fixer pivot ball and out through the slot or opening in the ground stake.
Step #6:
Make sure the fixture is plumb and level. Tighten the (4) set screws in the light fixer cap.
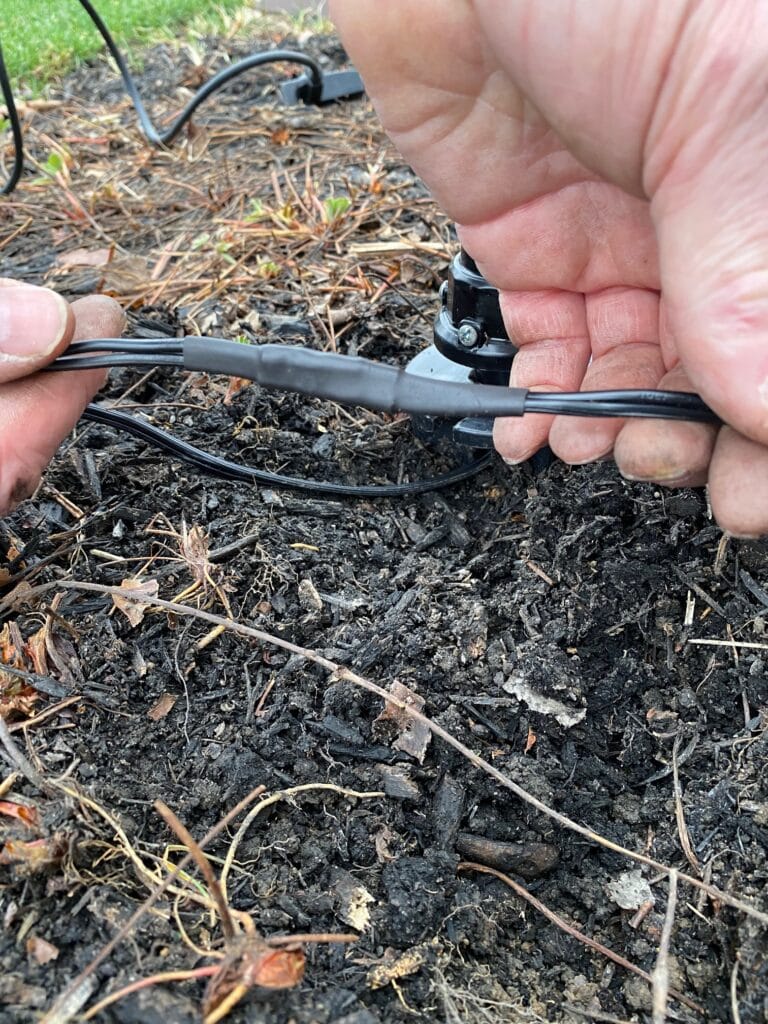
Step #7:
Reconnect the cut wire with (2) waterproof butt splice connectors.
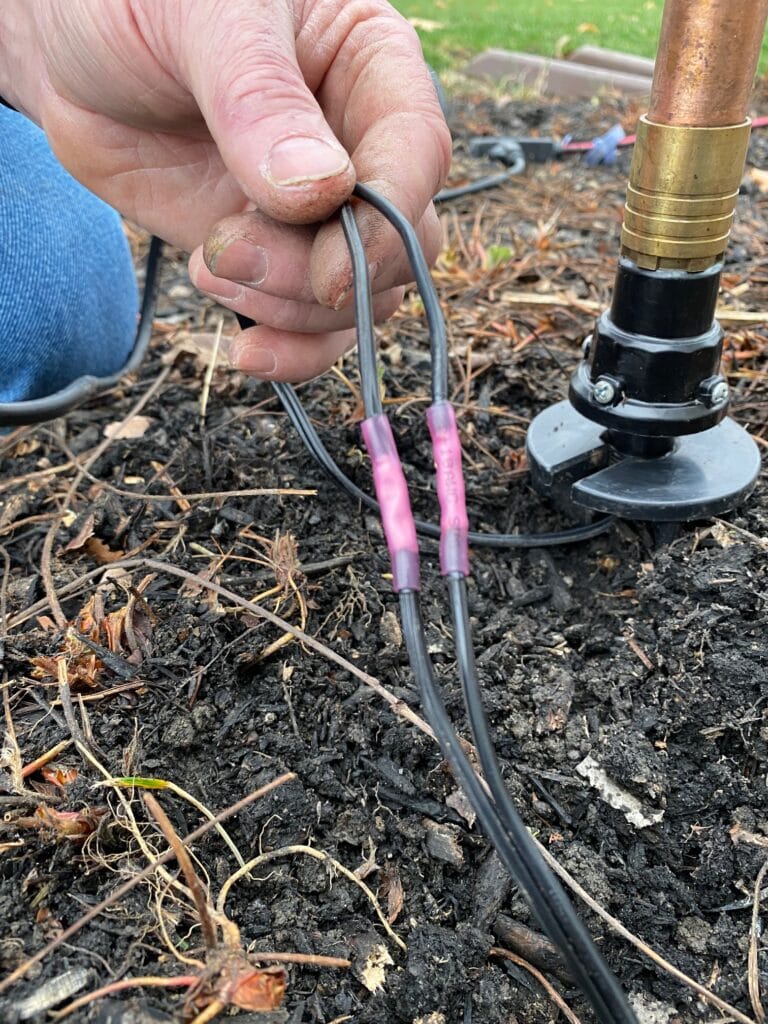
Note: for an extra measure of protection for the wire and splice connectors, slide a 3” 3/8”-3/16” heat shrink tube over one end of the fixture wire before installing the waterproof butt splice connectors. Using a heat gun (DO NOT use a propane torch), apply heat to the two splice connectors. After the splice connectors have been heated, slide the optional heat shrink tube over the (2) splice connectors. Using the heat gun, shrink the heat tube around the splice connectors.
Step#8:
The installation is now complete. Plug the transformer back into the weatherproof receptacle and check operation of the light fixtures. Watch a tutorial here